
Image Privacy Overview
Every school and organisation has people who shouldn't appear images online - a student whose consent has changed, a staff member who'd rather not be online, a child in a protected living situation. Keeping track of who they are, and remembering to check every photo before it goes out, has always been a manual job.
Image Privacy does it for you. Add the people you'd like to protect, and Hail checks every new image you upload, recognises them, and applies their privacy preferences before the content is shared.
Where to find it
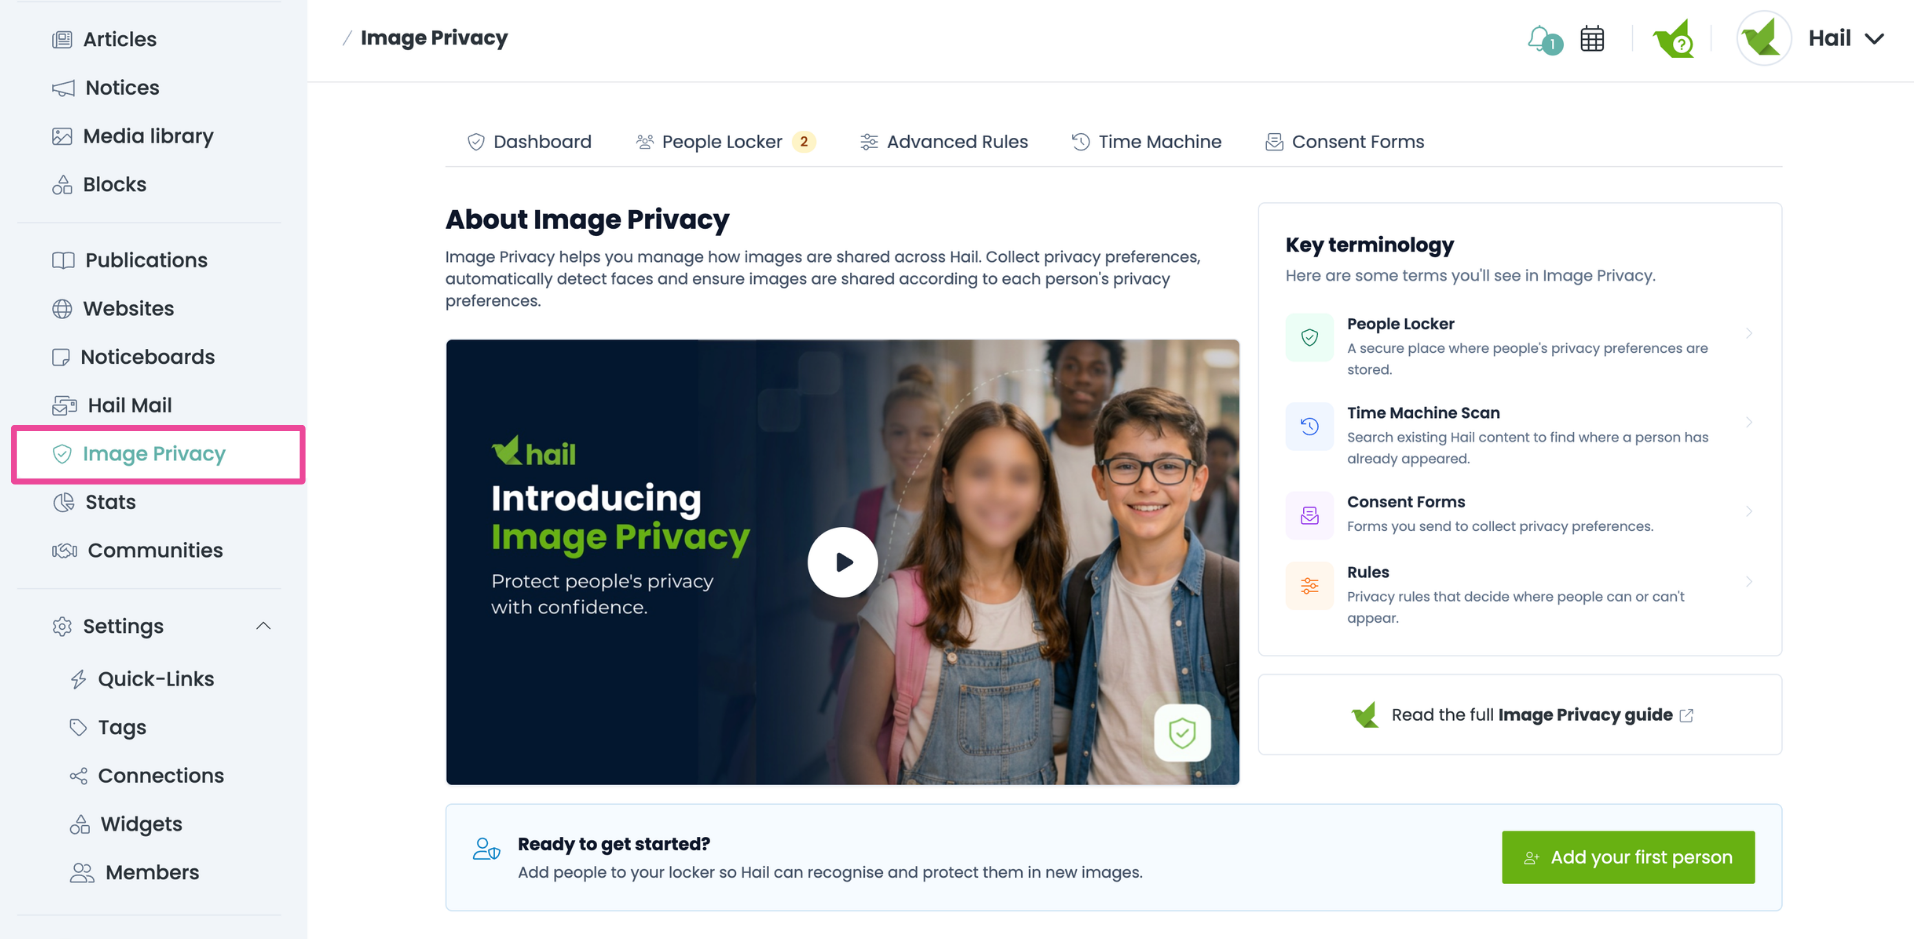
Head to Image Privacy in the left-hand menu, just below Hail Mail. You'll find five tabs:
- Dashboard - a snapshot of who's protected, what's been scanned, and anything waiting on you.
- People Locker - the people you're protecting, and their individual privacy settings.
- Advanced Rules - organisation-wide rules that protect everyone's face, plus your global settings.
- Time Machine - scan images you've already published to find and protect someone retrospectively.
- Consent Forms - request image privacy preferences from parents, caregivers and staff.
- About- information about image privacy and how to use it.
The four pieces, and how they fit together
People Locker protects specific people. Each person is added with a clear reference photo and a privacy level, and from that moment going forward, Hail scans every image you upload for their face.
Advanced Rules protect everybody. Rather than naming individuals, you can protect every detected face when content goes to social media, or every detected face everywhere. Useful when your organisation needs a higher baseline than person-by-person protection.
Consent Forms collect the preferences in the first place. Send a request to a mail list or an individual, and each person chooses how their images can be used. Approved responses flow straight into your People Locker.
Time Machine looks backwards. Everything above protects images from the moment a person is added - Time Machine searches content you've already published and lets you decide what to do about it. You select a person or upload a new profile image to the Time Machine Scanner and Hail will scan a time range you choose and find all image matches, as well as content matches and social media post links.
💡 Where to start
If you're setting this up for the first time, we recommend this order:
- Add a handful of people to your People Locker and check the results look right.
- Look through Advanced Rules and decide whether your organisation needs that extra layer.
➡️ Next steps:
- Send Consent Forms if you'd like to collect preferences from your community. (optional)
- Run a Time Machine Scan only when you need to protect someone in content you've already published.
Then carry on uploading images as you always have. Image Privacy runs quietly in the background from there.
Note: While we know our technology is very clever, we encourage a human to always double check images, results or actions to be taken.