
Creating and editing a Hail website from a Creative Template
Adding a template to your account and customising it is super easy in Hail!
Before you start
- You’ll need access to Websites in your Hail dashboard.
-
Have your website name and website address (URL slug) ready (this usually can’t be changed later). For example: Sports Portal or News Hub
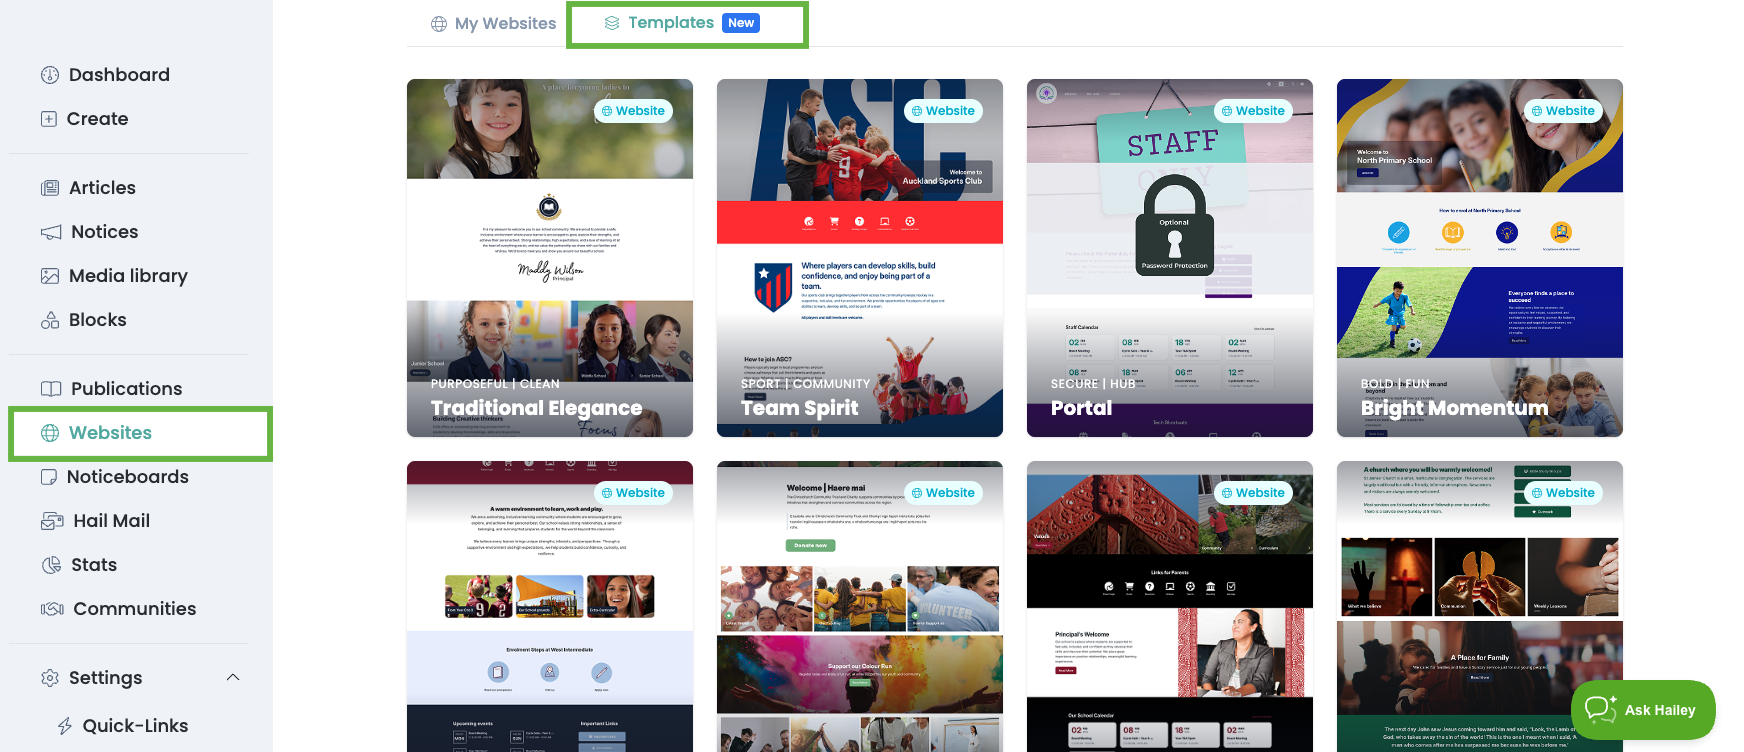

Step 1: Open the Templates library
- Log in to Hail.
- Go to Websites.
- Select the 'Templates' tab.
Step 2: Choose and preview a template
- Browse the template gallery.
- Click a template to open the preview.
- Use the arrows to view additional preview images.

Step 3: Create the website from the template
-
Once you have decided on the template that's right for you:
Enter:
- Website Title (this is the name shown in your dashboard)
- Website Address (your website URL/slug) for example 'sports' or 'news' or 'network'- this can't be changed once created however you CAN add a domain to the website to customise this web address at a later stage.
- Click Create to add the template to your account.
✅ Your website is now created and automatically opens up for you to edit!
Editing your creative website template
Editing the Hero section:
Update media shown in the hero section as well as the website title, greeting, and button.
Hero Media:

- Replace the demo image.
Choose if you would like to display an image, article or video.
Image tip: Image needs to be high res and stand out!
Article tip: Only the feature image will show so ensure it is a good one!
Video Tip: Video needs to be loaded to Vimeo or Youtube first. If you choose this option, add a button with says Watch Video so viewers can watch the video with sound!
Hero Title Box:

- Edit Hero Title, Title Prefix and Description
Click into any text area and type to replace the placeholder content. You don't need to use all these fields and you have the option to remove this box by toggling 'Show Title' off.


- Content alignment in the Hero section: Left, right or centred.

-
Button: Add a link and button text
(Or leave blank if you don't want a button appearing)

- Save your changes.
Step 5: Edit demo block content
Templates include demo blocks to show examples of layout, content types, and page structure. These blocks are fully editable and are designed to be replaced with your own content.

View all blocks on a page
- While editing a page, scroll down to the Blocks panel.
- You’ll see a list of all blocks on the page (for example: text blocks, image blocks, icon rows, logo grids, and news blocks).
- Blocks are listed in the order they appear on the website from top to bottom.
Edit a demo block
- Find the block you want to update in the Blocks list.
-
Click the edit (pencil) icon next to the block.

- Update the content:
- Replace demo text with your own wording
- Swap images or logos
- Update links, buttons, or labels, colours.
- Click Save to apply your changes.

➡️ For a guide on each block type, click here.
Step 6: Add a new block/section
- If you would like to add a new block type that didn't come with your template, scroll down to the bottom of your list of Blocks and look for the '+Add Block' to choose an existing block. (if you havent created your new block first- head to your blocks section in Hail and create it at this point. Here is a guide on how to create a new block)
- Click Add Block (or the + button).
- Choose the block you want (e.g. hero, text, image, buttons, news feed, events, feature tiles).
- Drag your newly added block to the spot you want it on your website.
- Click Save.
Step 7: Remove a block/section
- Hover over the block you want to remove.
- Click the block X to Remove block. (remember this does not delete your block, simply removes it from displaying on your website)

Step 7 — Move blocks around (reorder)
- Hover over the block you want to move.
- Use the drag handle and drag the block to the new position
- Save.

Step 8: Show Articles and/or Publications
Articles and publications are not considered blocks so in order for them to show on your website you need to click the 'show' option for either or both.

- Click 'Show' Articles or Publications
- Once you click this option, a new section will show up in your list of blocks:

- Click on the edit pencil icon and select the articles or publications you would like to have shown on your website.
- Click the '+Add' option and your library will open so you can select existing content. As you select, your preview will update!

If you change your mind you can click 'Hide' publications or articles.
Step 9: Publish your changes
- Review your page(s).
- Click Publish and view your changes (or follow your organisation’s publish/approval workflow).
*Your next step might be to add a custom domain? See article here or contact our support centre for help: support@hail.to