
Canvas Website Style
Guide to Creating a Canvas Style Website
The Canvas Style layout makes a visual impact, perfect for telling stories with bold imagery and content blocks. Here's how to build it step-by-step:
Step 1: Create a New Website
- Head to the Websites section in your Hail account, found in the left-hand menu.
- Select "Create"
-
Type in a Web Address. The web address is the URL you are choosing for your website. This is a very important step. The website address is permanent, and can not be changed once created.
💡 You CAN replace it with a custom domain once the website is published.
- Choose your style. In this instance- you will choose Canvas. (This style can be changed at any point)
- Select 'Create' to move onto the next step.
- If you have already completed this step, and are continuing your build or editing your website, look for the website you wish to edit in your library and click edit.
Step 2: Add a Hero Image or Video
- Under the Style section at the top, select Images or Video
- Click "+ Add Image" and select or upload a high-quality image or video.
- You can click the image to edit its title or description.
Tip: The hero image is the first impression—choose something eye-catching!

Step 3: Set the Title & Intro Message
- In the Title profile field, enter a short welcome phrase (e.g., Welcome to, Kia ora) to appear before your website name or leave this blank for nothing to appear
- Then add your main Website Title (e.g. Ida Downs Bed and Breakfast).
- Toggle “Show Title” on or off based on your design preference.

Step 4: Add Your Main Welcome Message
- In the Main text block, write your welcome or introduction message.
- Use headings, bolding, bullet points, and more with the formatting toolbar.
📌 Tip: Canvas style displays this text prominently under your hero section, so keep it clear and engaging.

Step 6: Choose Your Website Buttons
Website buttons appear in the footer of a Canvas website
- Scroll to Website Buttons.
-
Choose a Website Buttons Block which you have already created in the Blocks section of Hail.
💡 Need some help creating a Website Buttons Block? View the Blocks guide here.
- Click Save after selecting.

Step 7: Add a Icon Block
- Scroll to the Icon Block section.
- Click on the dropdown list to select an Icon Block you have already created. (You can only add an icon block here and the ideal number of icons is 4)
- You can also edit your existing Icon Block by selecting the 'edit icon' next to the Block name.

Step 8: Add Articles
Articles display as image and text block sections on a Canvas website. Your most recent 3 will always display on your website.
- Under Articles, click + Add Article(s).
- Choose up to three articles to be showcased with large image thumbnails and text overlays.
- These display prominently in the Canvas layout as full-width visual sections.
- Text which appears next to the image is pulled from the title and lead of your article.

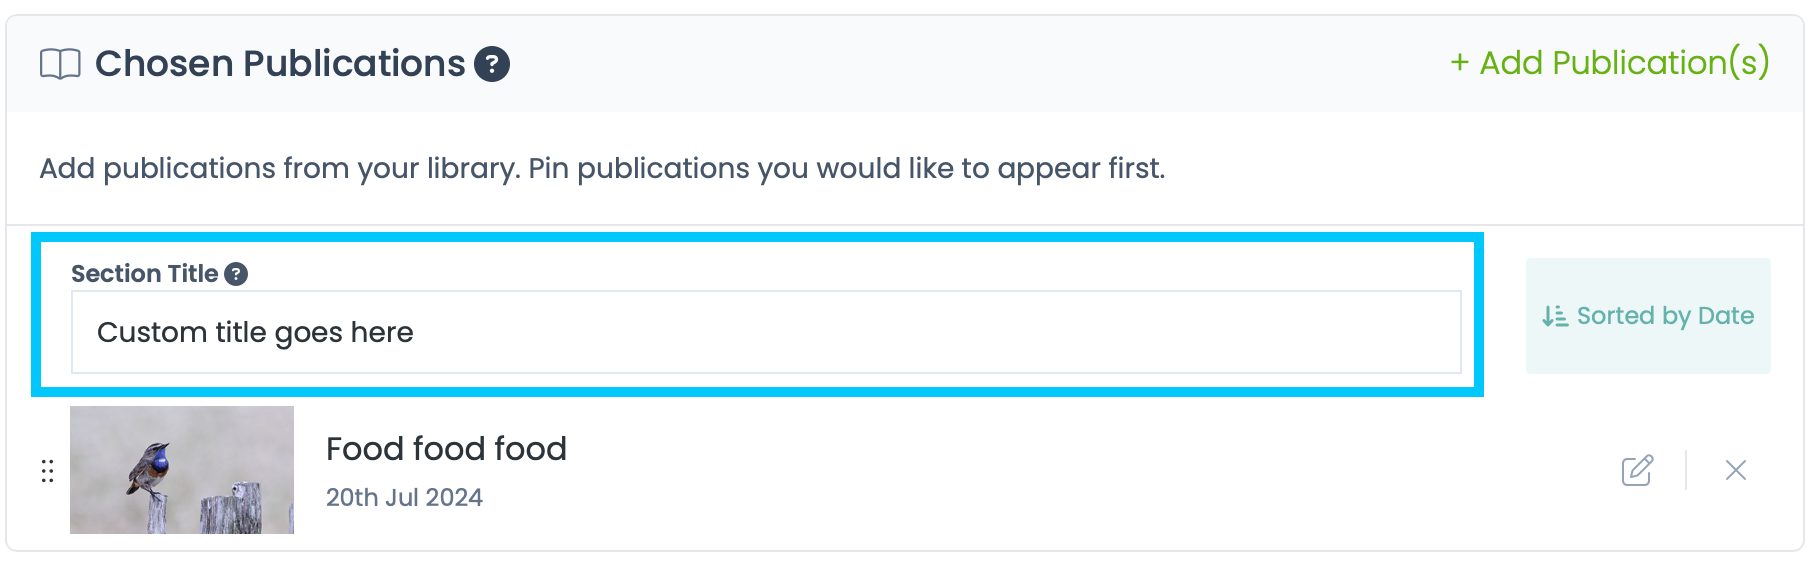
Step 9: Choose Publications
Publications display in a carousel. Remember to come back and remove older publications from time to time.
- Under Chosen Publications, click + Add Publication(s).
- Select up to 20 publications to appear.
- You can add a custom title for this section. (eg. Our Latest Newsletters, What's new?)

Step 7: Add a Block
This section gives you the freedom to add any Block style to your website! Think sponsors blocks, photo galleries, values images.
- Scroll to the Blocks section.
- Click on the dropdown list to select a Block you have already created here.
- You can also edit your existing Blocks by selecting the 'edit icon' next to the Block name.

Step 10: Add a Video (Optional)
- Scroll to the Video section.
- Upload or embed videos to enrich the site experience.

Step 10: Customise Website Settings
Located in the right-hand 'Website Settings' menu:
- Alert: Set urgent messages for site visitors. This appears on the top of the screen above your navigation.
- Website Logo: Upload your logo if you would like it to be different from your default logo.
- Translate: Enable to support multiple languages.
- Google Calendar: Toggle the calendar on or off. You can also add a Google calendar link if you have one that is different from your global settings.
- Facebook / Instagram Feed: Link social media here for the feed to appear on your website.
- Website Contacts: Add website contacts here to overwrite the default contacts you have listed in your global settings. If you are happy to display global contacts, toggle this option off.
- SEO Settings: Improve visibility on search engines.
- Custom Code: For advanced users to add custom HTML/CSS.
Step 11: Configure Navigation (Quick-links)
- At the very top of the page, click "Navigation for this website".
- You can click here to edit your website navigation links.
- Toggle navigation on and off here. If you toggle navigation links off- no menu bar will appear at the top of your website.
- For a guide on how to edit and create quick-links, click here.
Step 12: Save and Preview
- Click the green "Save" button at the top right. (good practice to save along the way as well!)
- Use "Preview" to see how the site looks before publishing.
Quick Canvas Style Tips:
- Visual-first: Prioritise strong images and headlines.
- Less is more: Use clean and focused content blocks.
- Update regularly: Keep articles and promos fresh and relevant.